
Drybox
Multi-roll Filament Dry Box


I have a humidity problem when it comes to 3D Printing filament. For much of the year it only takes a few days of exposure to the air before even something as forgiving as PLA will start to pop and sputter due to absorbed moisture. Moving spools in and out of dry storage is a pain and my work-horse filaments still ended up spending a lot of time out in the air. A drybox that could feed my 3 most commonly used filaments would help keep these spools printing cleanly, save me time, and cut down the number of times I have to open up my dry storage.
Since there’s been this pesky pandemic on (and because one of the reasons I got a printer was to be able to make (re)use of junk around the house), I had a goal to buy as little as possible for this project. After picking through things here are some basics I found:
- The Box
- Gasket boxes are a common sight around our house, so we rearranged some things to free up one that was a good size. This one would support 4 1kg spools, were it not for the bearing assemblies which brings the total down to 3.
- Spindle / Rod
- A last minute (Zoom) Halloween costume contest left me with a poorly painted 3/4" wooden dowel lying around.
- Hygrometer
- I had a cheap one from ali-express that was not in use.
- Rod Holder and Silica Box
- Printed
In the end I just had to buy some ptfe push fittings. With the starting point defined I got to the fun part:
Problem Solving
Problem 1
Finding a reenforced 3/4" (19mm) dowel holder that would work for a polypropylene box1 was harder than I thought it would be. I wanted one that would be supported from the outside of the storage box. This was also complicated by it not being easy to search for fractions on Thingiverse.
Solution 1
This was and easy ask, so I made my own. I used Fusion 360 to create a sweep that was just over 180° so that dowel is loosely held in place when I’m moving the box around.


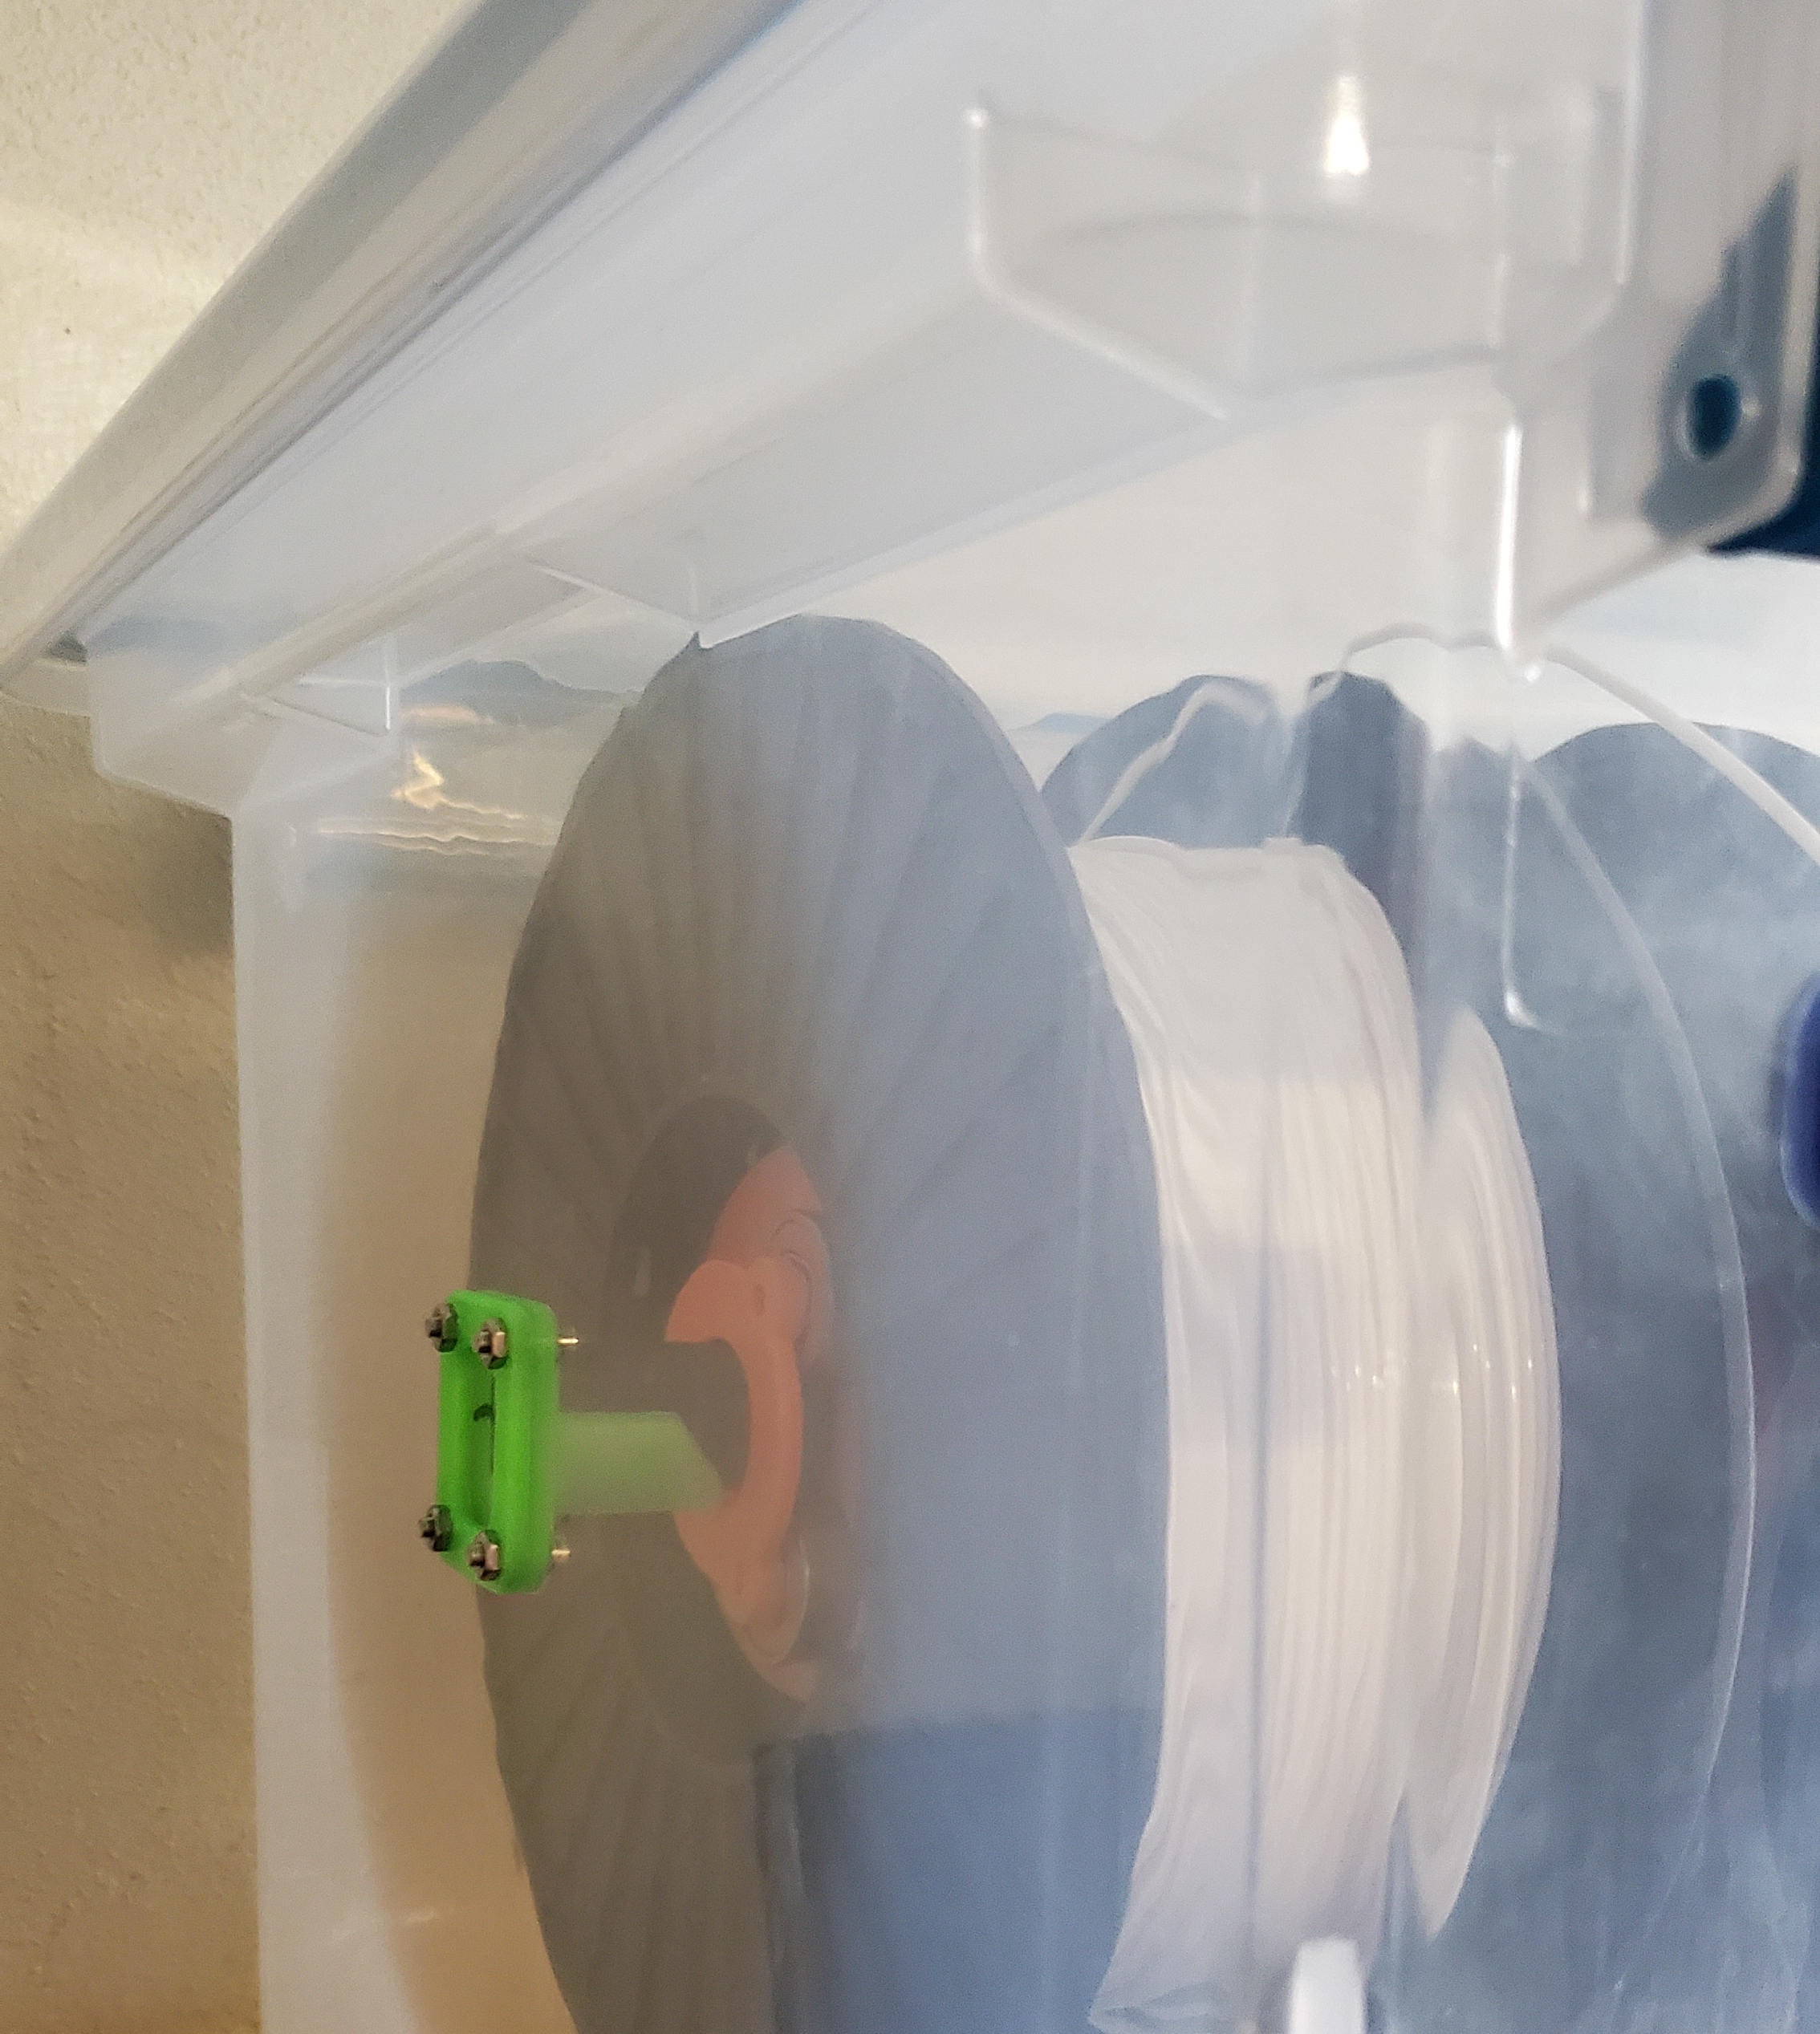
To make assembly easier I inserted a hex nut from McMaster-Carr and use that to cut out a recess in the backing piece. That way the nuts spin less when trying to tighten them.
Problem 2
So much friction! I knew the filament spools wouldn’t roll smoothly on a narrow rod, but this was enough friction to make my extruder skip steps. Using a wooden rod was certainly exacerbating the situation.
Solution 2: Bearing Assembly
I’m pretty sure I could have sufficiently overcome both sources of friction by making a bushing to adapt the average size of a filament spool to my small diameter rod. But I happen to have almost 50 (mediocre quality) 608 bearings that would DEFINITELY do the job… perhaps too well (thay may spin too freely).
My first attempt (left side of the video below) didn’t leave enough clearance so it didn’t spin well and was going to wear grooves in my wooden dowel. On the right spool in the video you can see how adding just 0.15mm of tolerance got it dialed in.
This build warranted it’s own post.
Problem 3
Space is limited and this dry box is rather large. In the interests of keeping filament paths and friction to a minimum, I wanted the box to sit on top of my Lack Enclosure. But the box is big enough that it would block the slot where I have filament enter my enclosure.
It so happens that my printer enclosure sits in front of an old stove mantle. That leaves me about 15cm of space between the back of the enclosure and the wall. The mantle itself is about 30cm lower than the enclosure’s top. So I just needed to give the back end of my box some support and I could make use of those 15cm.
Solution 3: Sterilite Box Stands
I have few options for where this box can sit and the top of my encloser is the only practical spot. I wanted a fast solution that would help stabilize the drybox and keep it from slipping around when the enclosure shakes during fast printhead movements. I also need to be able to move to box readily as my lack enclosure the the kind with the hinged lid. Plus, when your most interesting tool is a 3D printer, every problem looks like a lack of plastic. In this case I wanted something that
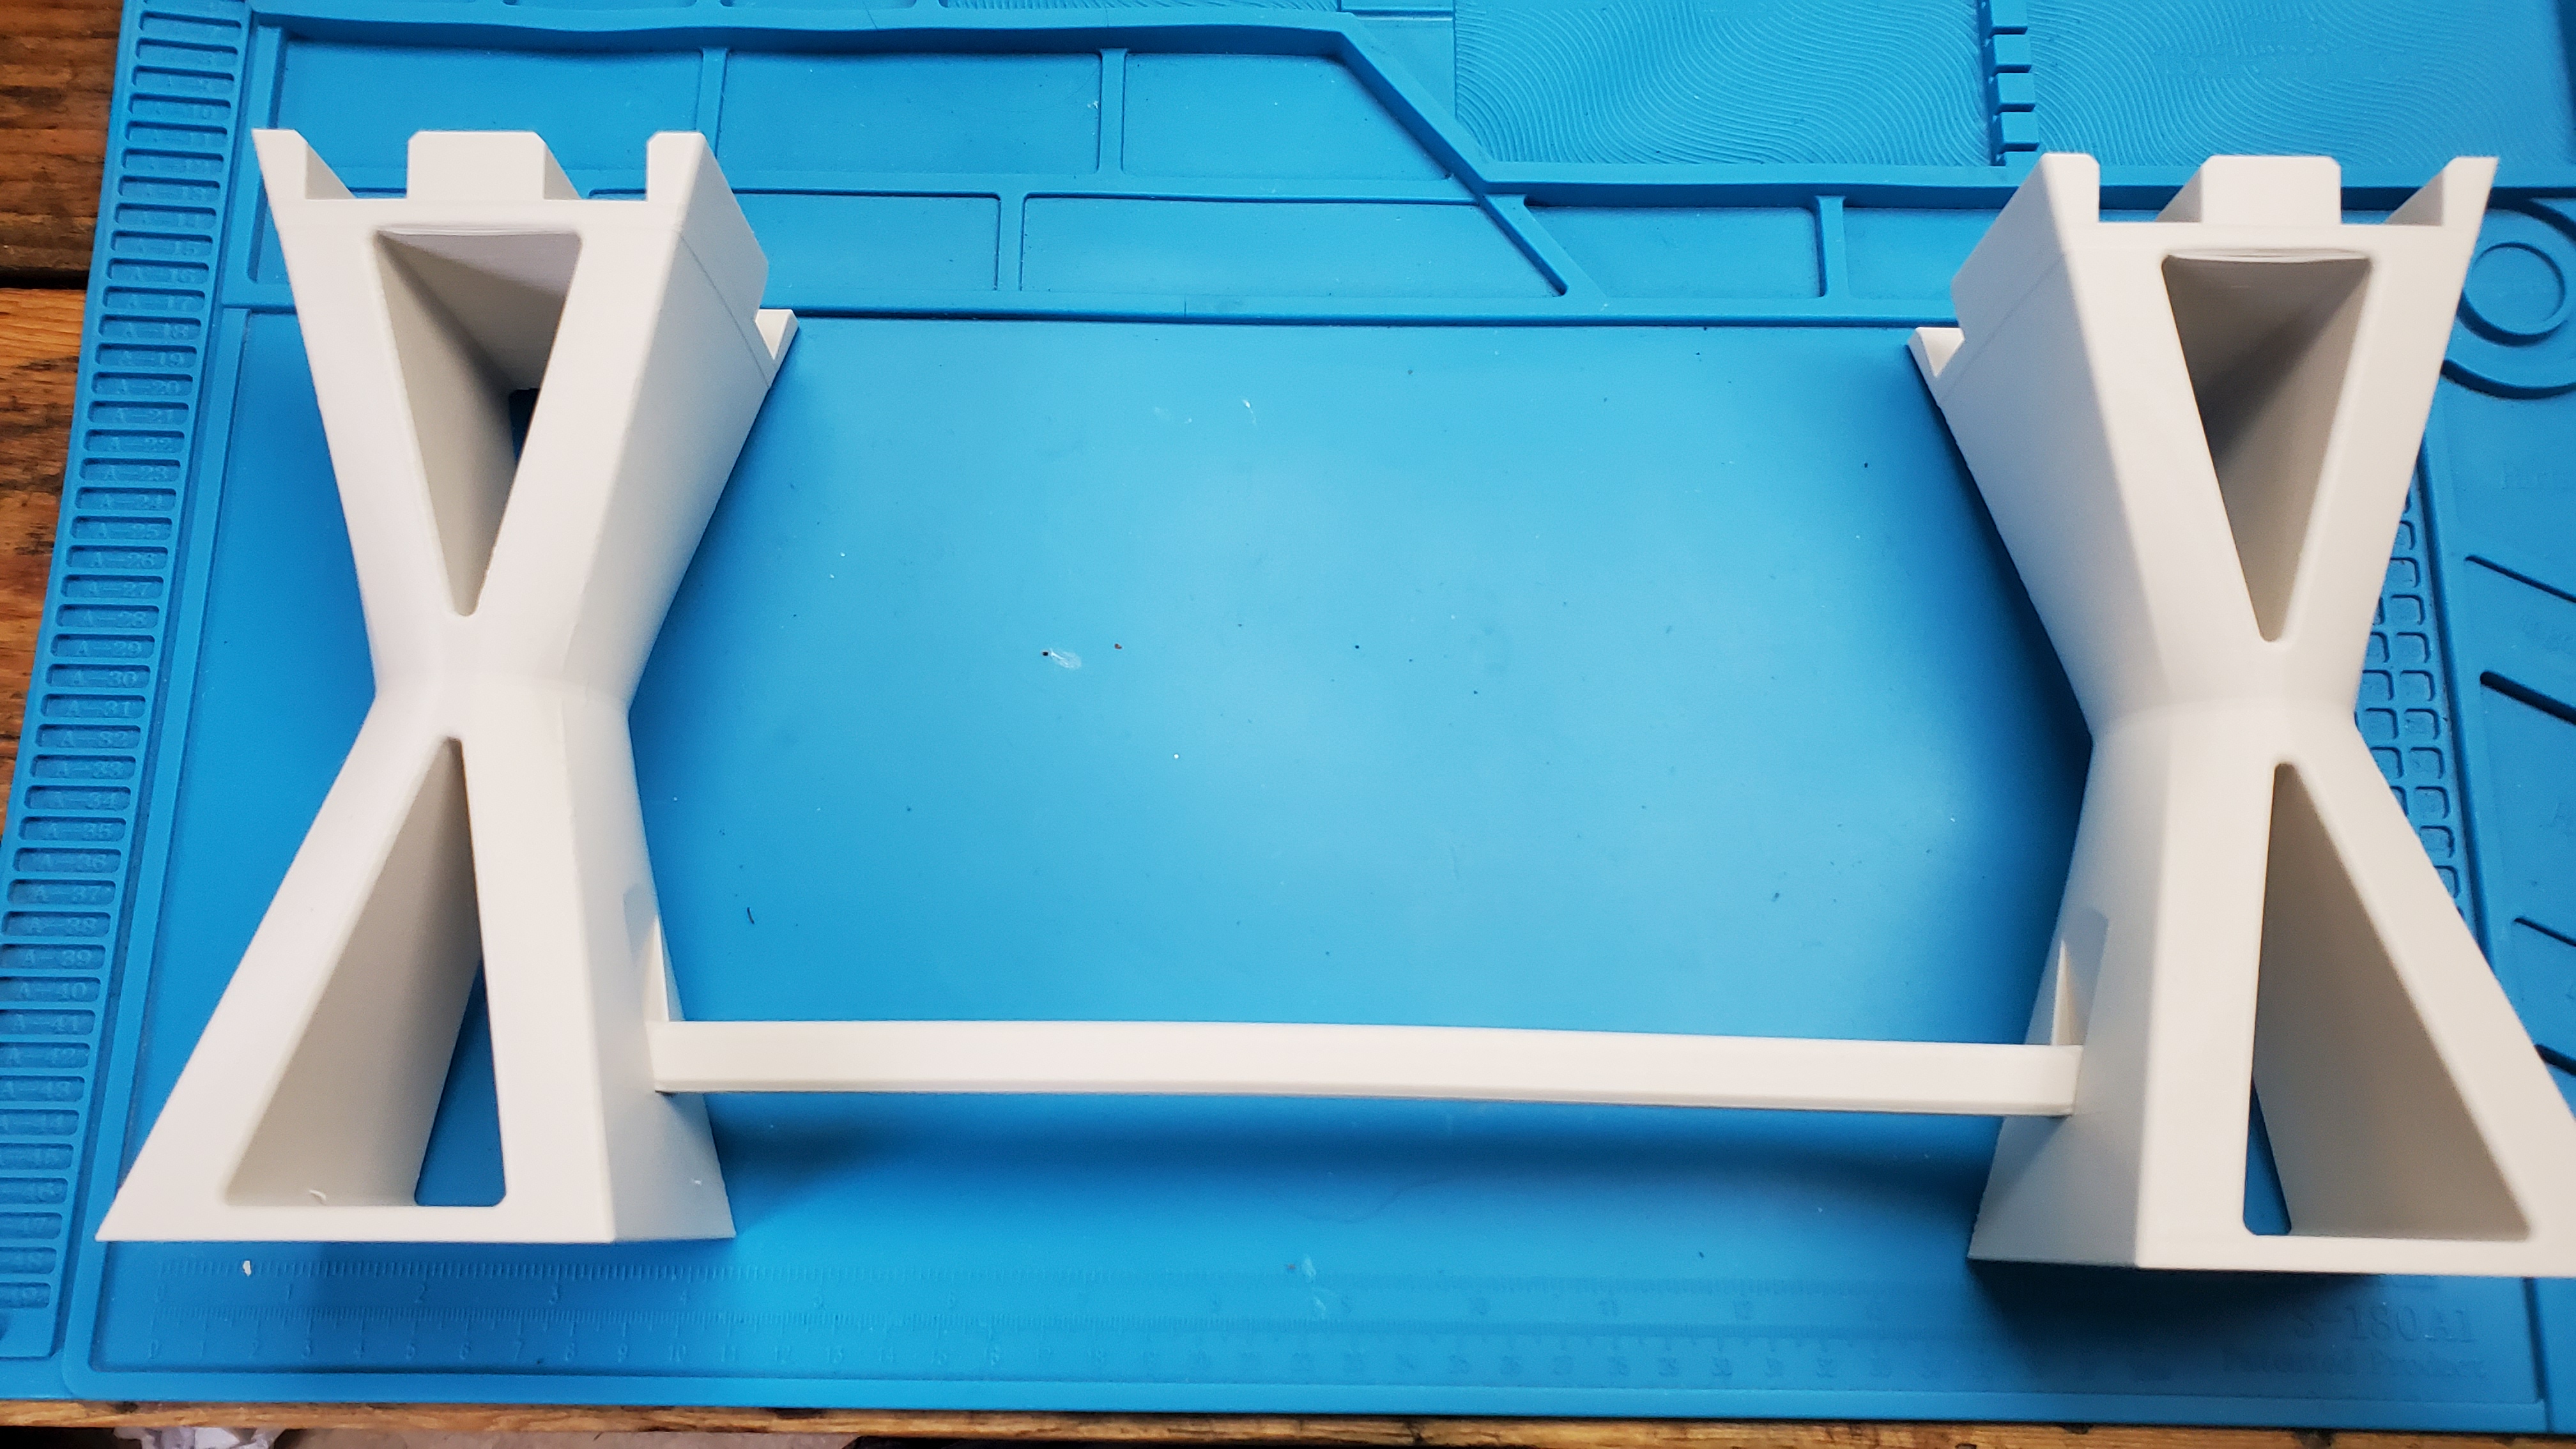
- would print in a single job on my MK3s
- would be stable
- would not use a crazy amount of filament
- is over engineered
So I decided to design these stand-offs. They have recesses in the top so that the corner of the Sterilite box is locked to the middle of the stand. A dovetailed bar holds the two stands at the correct width to hold the back half of the box.


Sterilite Box Stand Availability
I haven’t posted this anywhere. It’s just so niche.
Problem 4
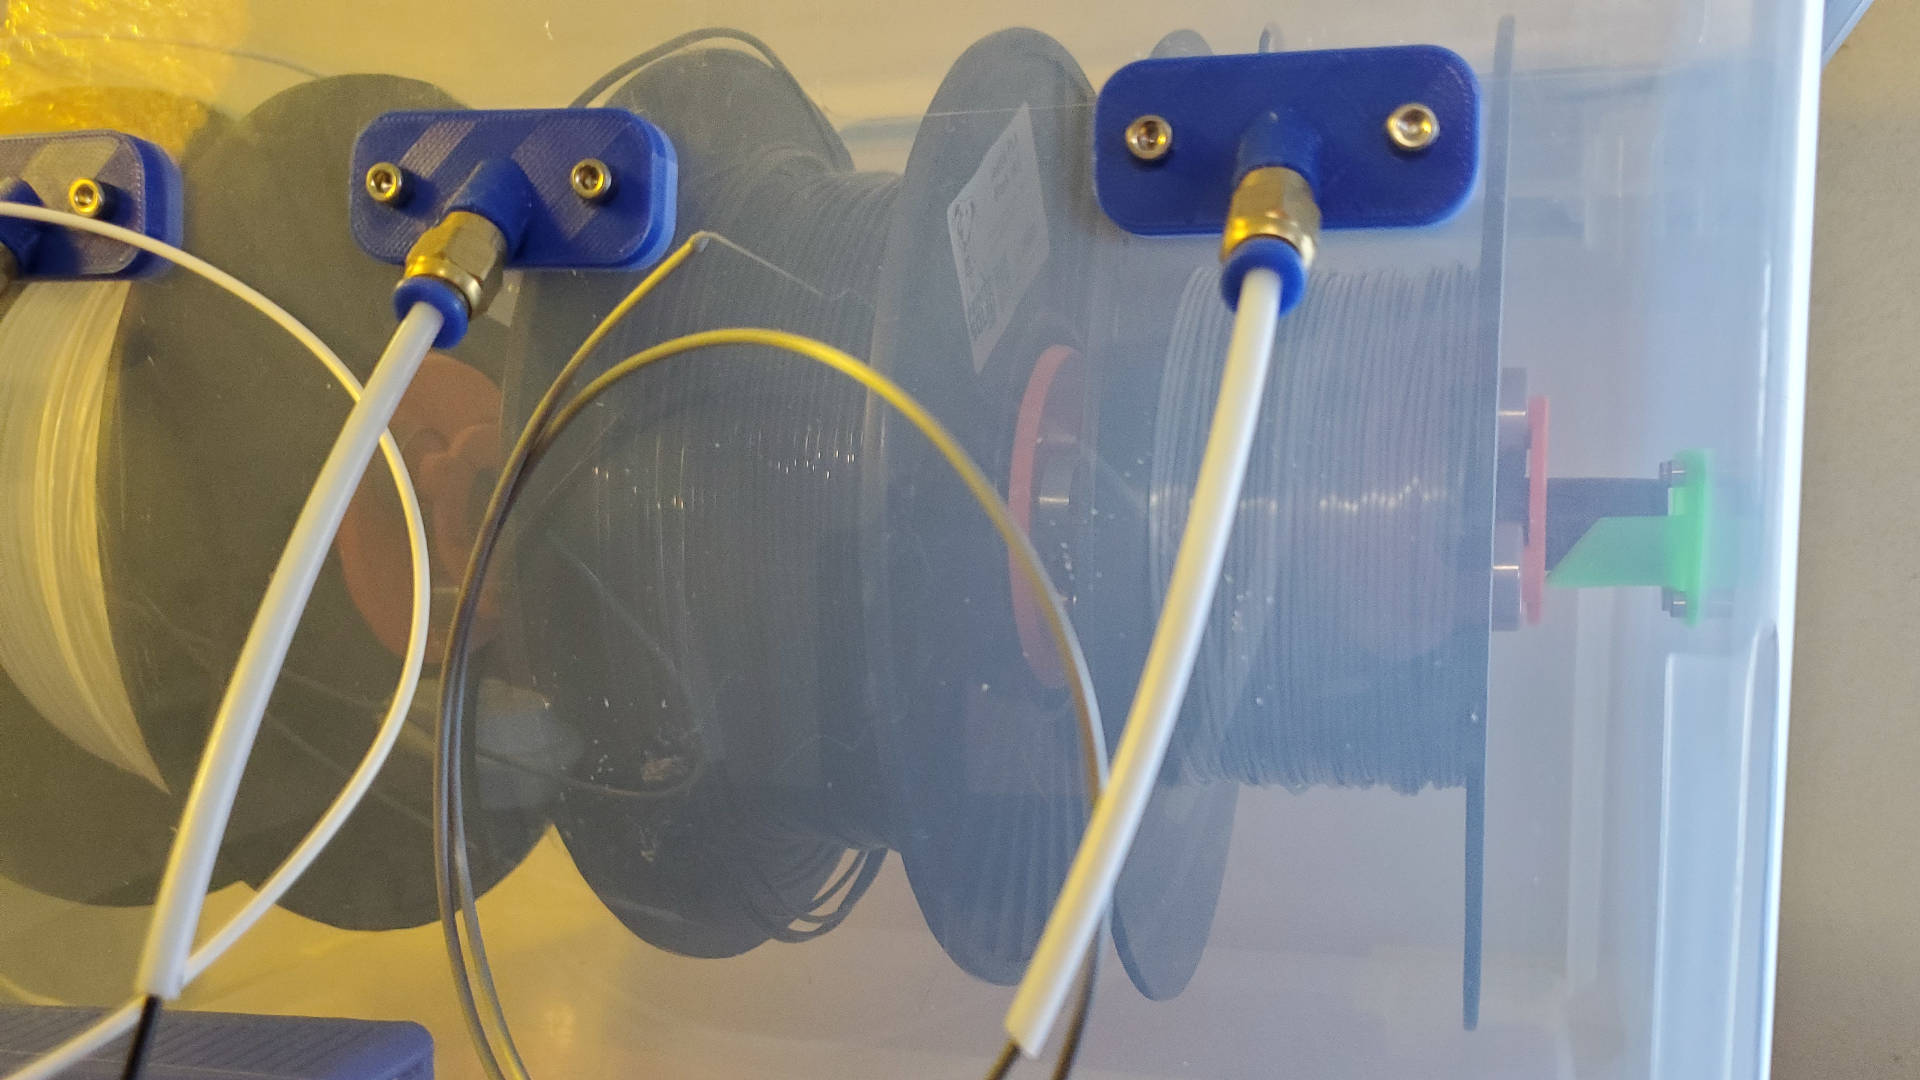
I want to keep these 3 spools ready to go without much fuss. That meant feeding the filament from all spools without introducing a place for humidity to creep in.
Solution 4
The folks who feed multi-filament systems (Like an MMU or a Pallete) already have this figured out. I downloaded some drybox filament guides from thingiverse and used a short length of 1.75mm (ID) PTFE (teflon) tube so there’s almost no air space but the filament still goes through with very little friction.
The End
There are simpler ways to do this. Don’t be like me… unless you like t kitbash your way to success. I’ve been using this box for about 6 months now, and other than needing a way to stop the hygrometer from sliding around2, I’m pretty happy with the outcome.